|
The project that was assigned to do in class that required you to take random objects and modifiers to alter the appearance. We have to work on the tutorials given to us to learn the basics on how and what modifiers work together. Using the Primitives cylinder, box, torus, cone and a sphere, altering with the modifiers make them change visually but without changing the actual shape. Exploring these different options gave me site into how 3ds max works and made me see thing more creatively. 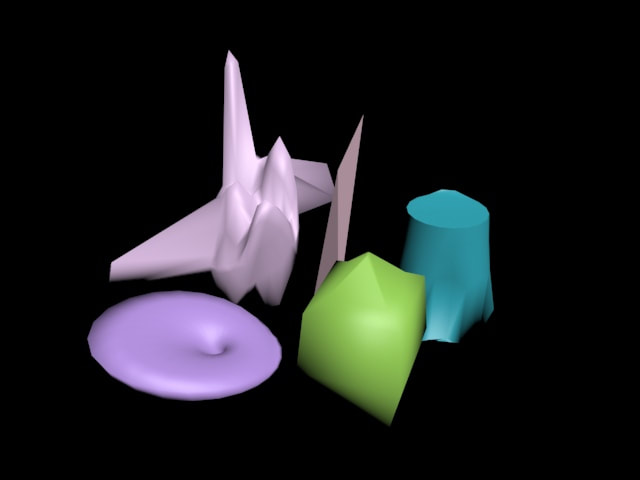 The next assignment for me was to make a Table Lamp, making it without the modifiers weren't difficult part but adding the modifiers were a problem, since the lamp by itself was fine. I started by adding the smooth modifier to the rings in the middle of the lamp to make it smoother. Using the mesh tool I made the base of the lamp more textured since lamps have to keep it stable, for the spheres I extruded the points on some of the locations and added a noise modifier to make them fuzzy, lastly for the top of the lamp I made a torus and extrude the shape to make it longer, adding a squeeze modifier to make it a little skinnier. 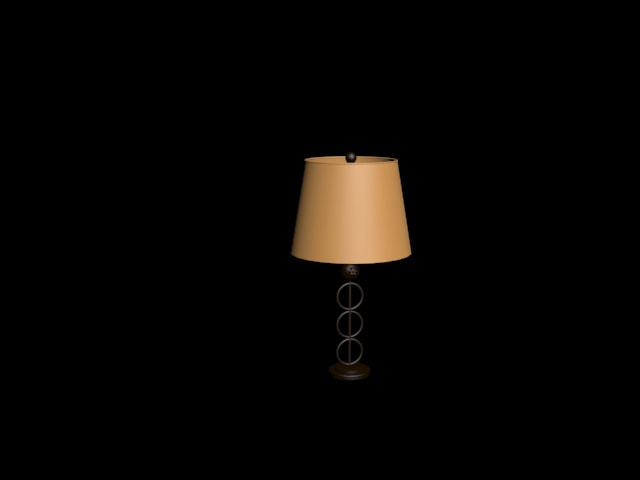
0 Comments
When 3d modeling, some of the objects you make would look better with a texture to it to make it look realistic, this is where materials come in to play. Materials allow you to add simple colors and/or complex designs to objects in your scene.
To get started, you must have a object selected, any one may do good. Once selected, open the slate material editor using the "M" key, which will bring up the menu. The Material Editor is a workbench for creating, adjusting, managing, and applying materials to objects. On the left, a Material/Map Browser panel where you can choose material and map types (or ready-made materials) to add to the scene. In the middle, a View panel where materials and maps appear as nodes that you can wire together. On the lower right, a Parameter Editor where you can edit the material and map controls. In the material/map browser panel at the left, locate materials standard tab, then standard, and drag the standard entry from the browser and drop it in the active view. Double-click the standard material node to display parameters for the material, under the name field, click the color swatch that is labeled diffuse. it will then bring up a color selector, choose one of your wish to give to the object, then click OK to close the color selector. On the Slate Material Editor toolbar, right-click, then click "Assign Material To Selection". This only works when you still have your object selected. After all of this is done, click the render button, "F9" to render and see your final object look.
https://knowledge.autodesk.com/support/3ds-max/getting-started/caas/CloudHelp/cloudhelp/2018/ENU/3DSMax-Tutorial/files/GUID-5BA72891-97EC-4688-8B50-9FACCF1FF040-htm.html https://knowledge.autodesk.com/support/3ds-max/getting-started/caas/CloudHelp/cloudhelp/2018/ENU/3DSMax-Tutorial/files/GUID-C0B98157-55B2-4242-81CA-3261BF0A1095-htm.html |
